Caramelized Onions
This post may contain affiliate links. Read my disclosure policy.
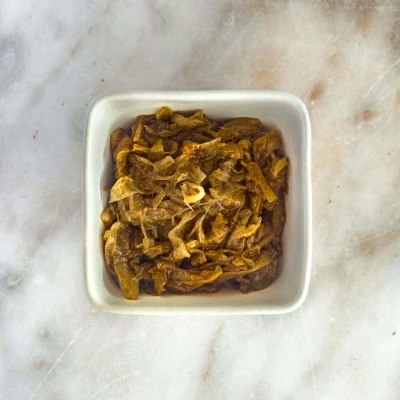
Caramelized onions are cooked low and slow until deeply golden, transforming their sharp bite into a rich, sweet-savory flavor that adds depth and warmth to everything from burgers to pastas.
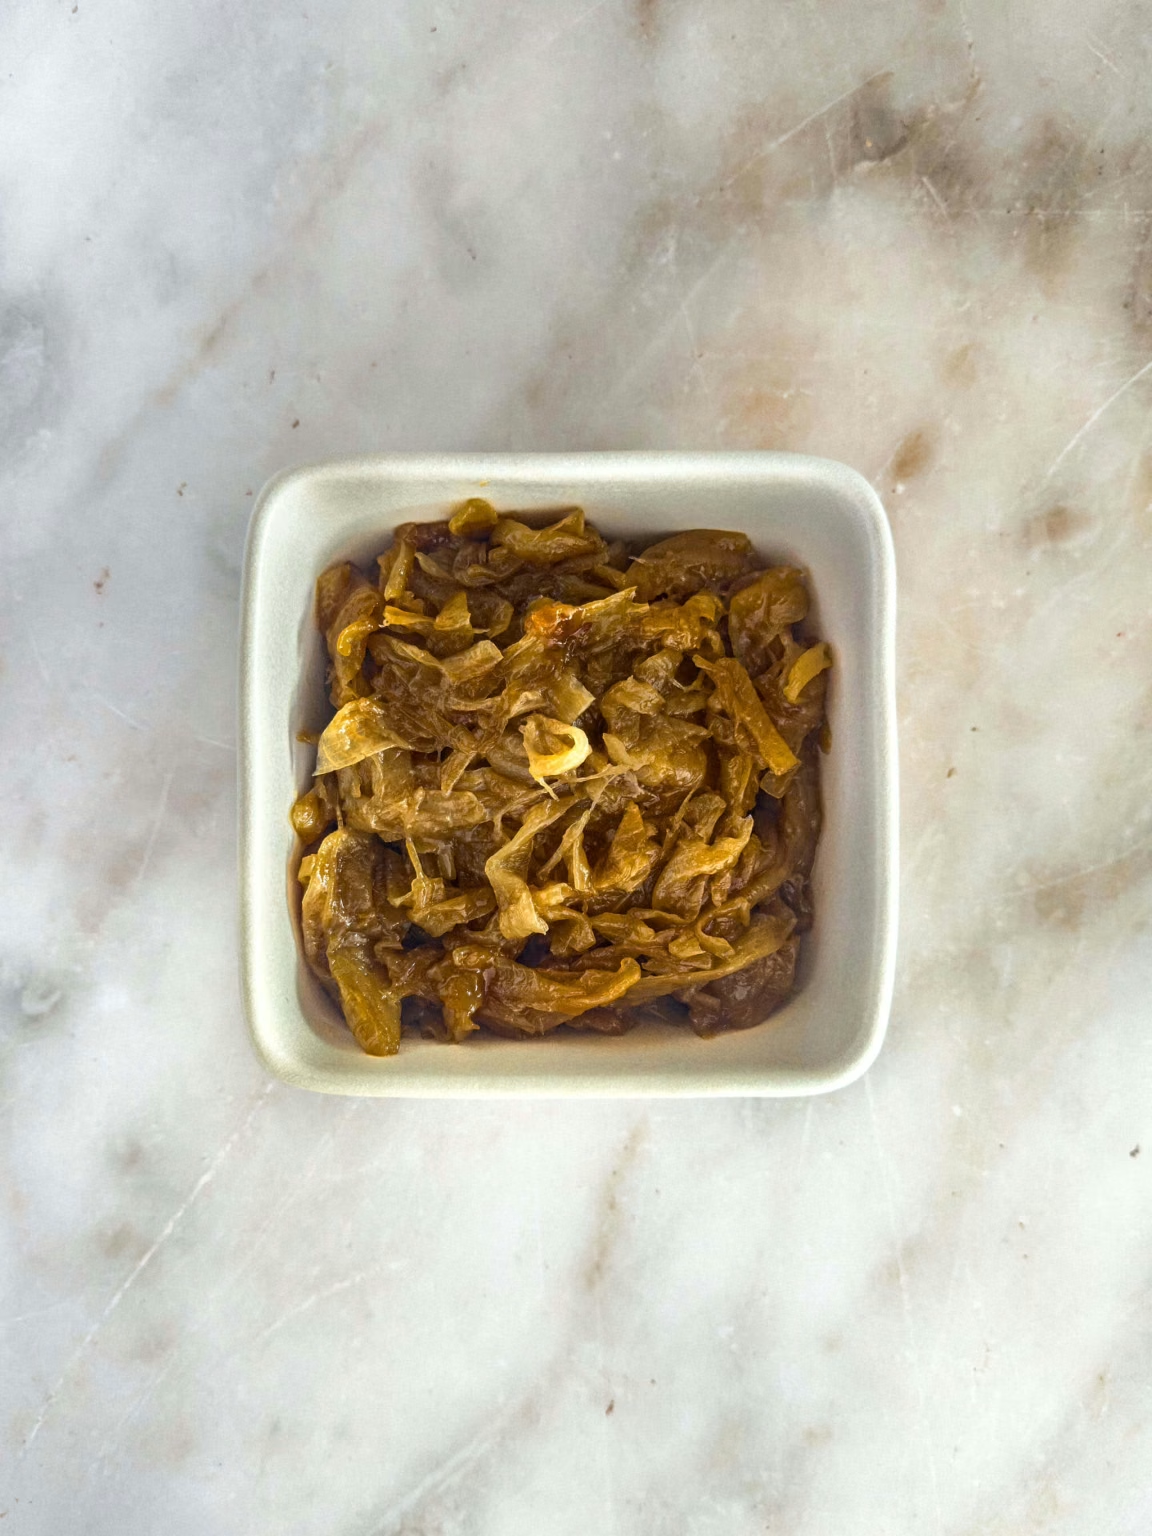
Caramelized onions are one of those magical kitchen staples that feel like alchemy: start with a mountain of raw, sharp onions, and—after some time, patience, and a bit of stirring—you’re left with a silky, jam-like pile of sweet, golden richness. They bring deep, savory flavor to everything they touch, whether it’s folded into mashed potatoes, piled onto burgers, stirred through pasta, or layered into a grilled cheese that suddenly tastes restaurant-worthy. The process is slow (usually 45 minutes to an hour), but there’s no rushing true caramelization—those complex flavors only develop with time.
Make a big batch when you’re hanging around the house, and your future self will thank you. Stored in an airtight container, they’ll keep in the fridge for up to two weeks or in the freezer for a few months—ready to elevate whatever’s on the menu.
What You’ll Need to Make Caramelized Onions
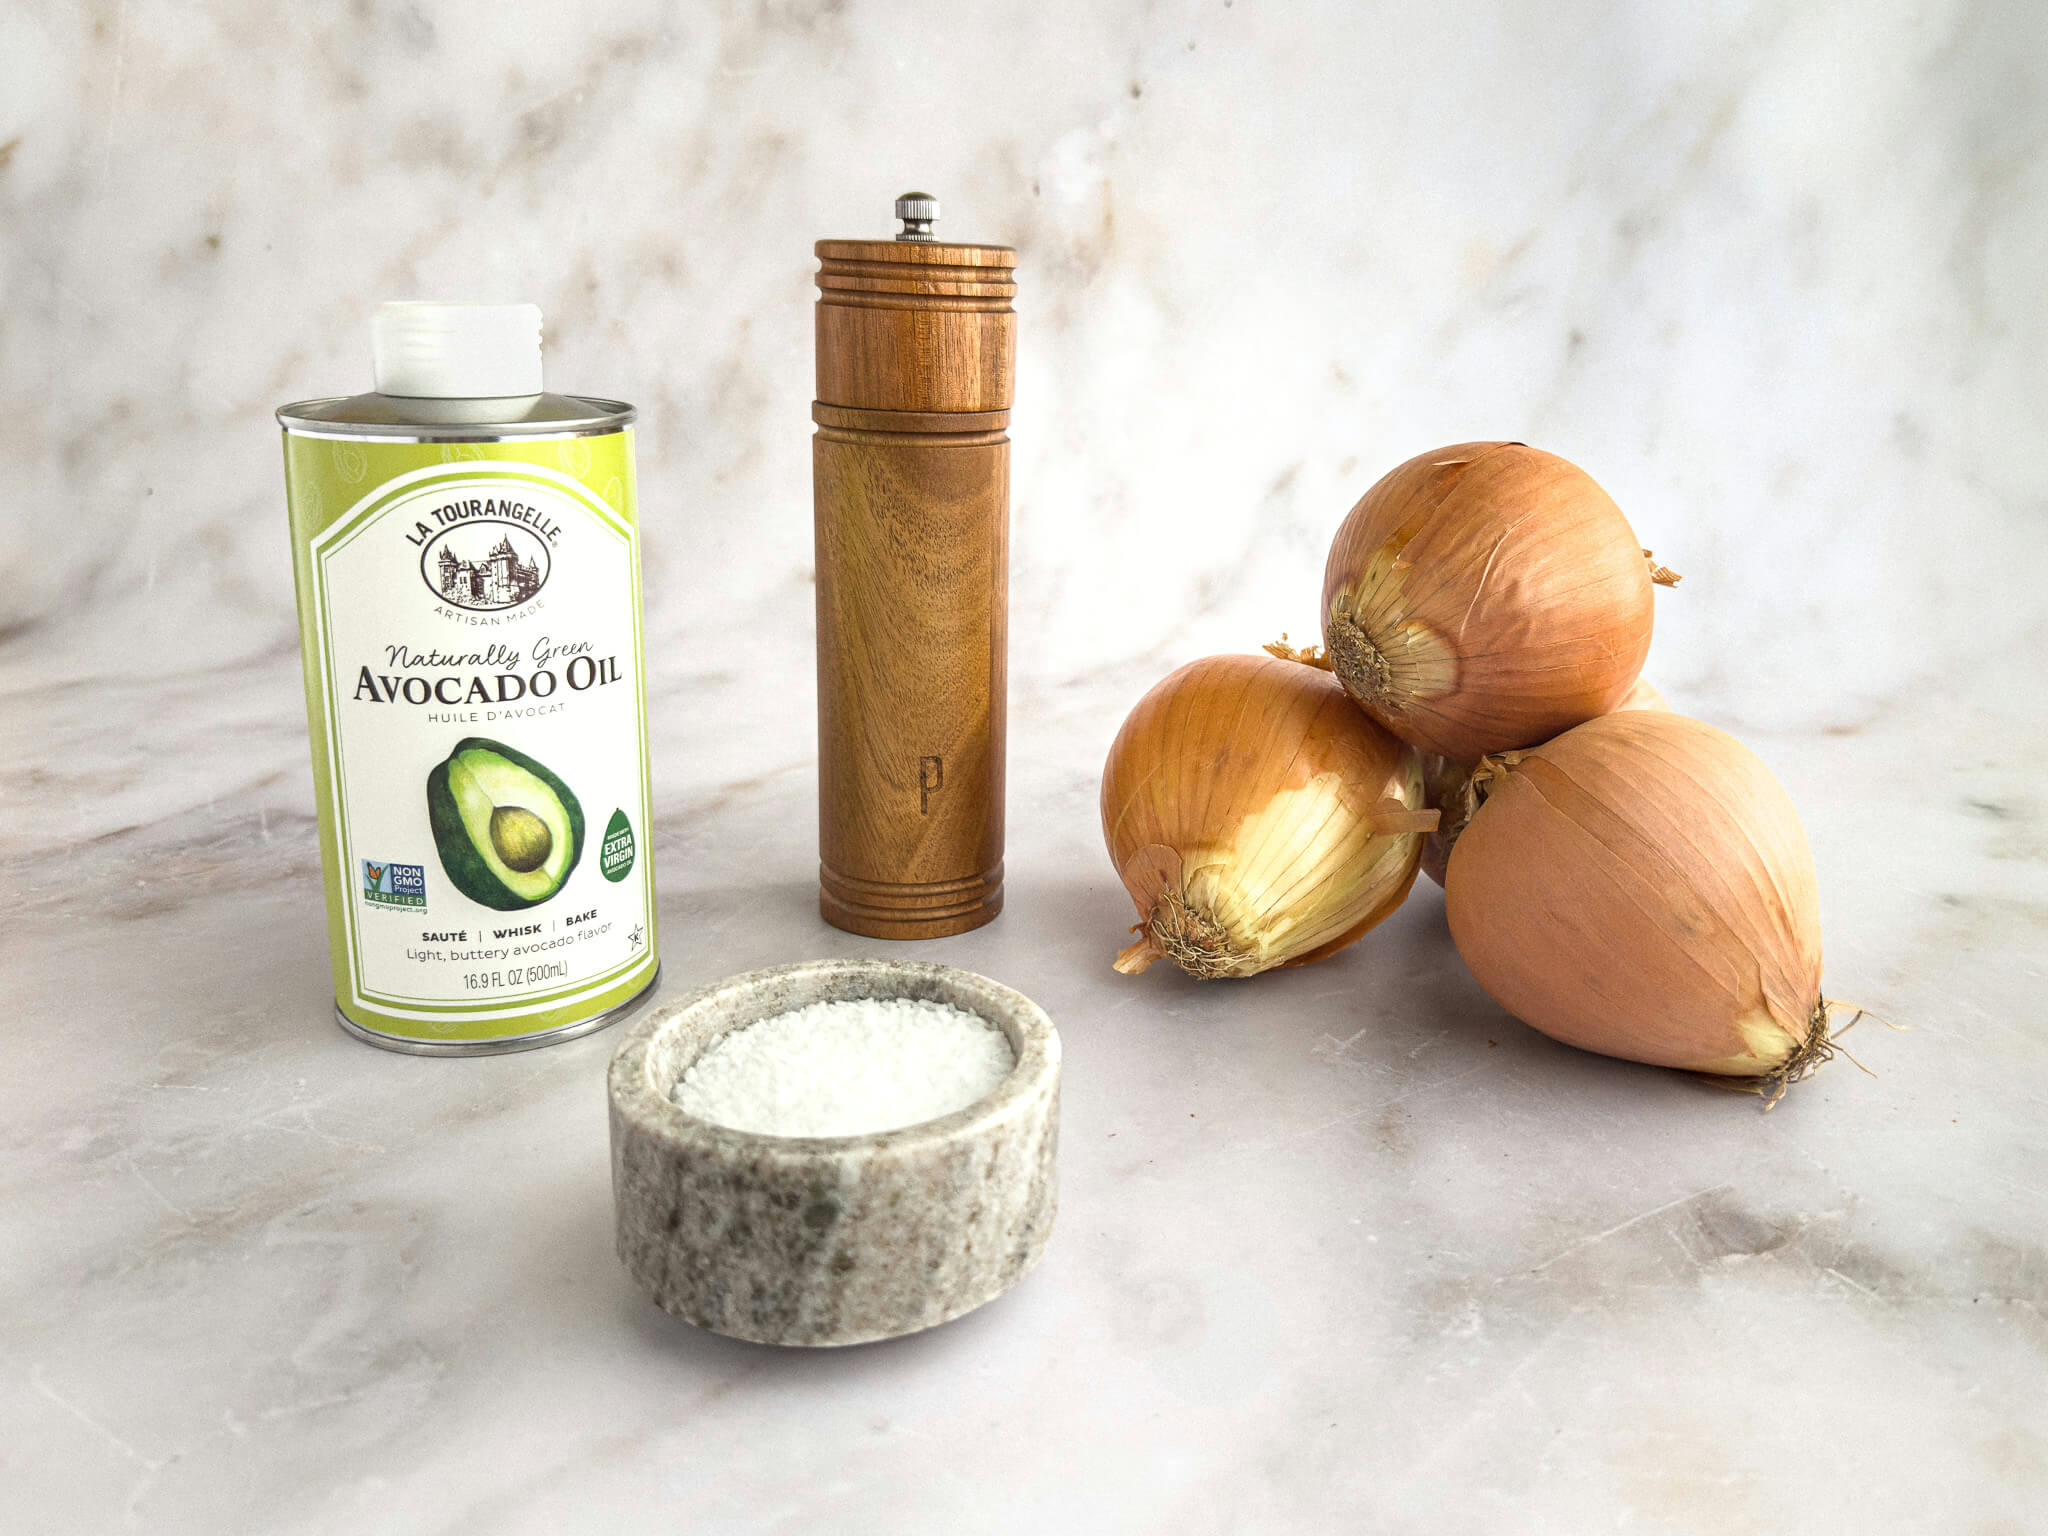
| Onions (Vidalia or Yellow) – Sweet Vidalia or standard yellow onions are ideal here—they soften slowly and develop deep, rich flavor as they caramelize. You’ll start with a lot, but they cook down dramatically into golden, jammy goodness. |
| Avocado or Neutral Oil – A mild, high-heat oil like avocado or canola keeps the onions from sticking and burning during the long cooking process, without adding any competing flavor. |
| Salt – Just a pinch helps draw out the onions’ natural moisture and enhances their sweetness as they cook down. |
| Fresh Cracked Black Pepper – Adds a subtle bite and earthy depth that balances the sweetness of the onions. |
| Water – A splash of water here and there helps deglaze the pan and keep the onions from scorching, especially toward the end of cooking when their natural sugars are most concentrated. |
You May Also Like
Caramelized Onions
- Servings:
- 6 servings (about 1½ cups)
- Prep:
- 10 minutes
- Cook:
- 1 hour
- Total Time:
- 1 hour 10 minutes
Ingredients
- 3 pounds sweet vidalia or standard yellow onions halved and thinly sliced
- 2 tablespoons avocado or neutral oil
- 2 teaspoons kosher salt
- 1 teaspoon fresh cracked black pepper
- 1 cup water, as needed
Instructions
- In a large, heavy-bottomed skillet, heat the oil over medium-high heat. Add the sliced onions along with the salt and pepper. Give them a good stir and cook uncovered for about 4 to 5 minutes, just until they start to soften.3 pounds sweet vidalia or standard yellow onions, 2 tablespoons avocado or neutral oil, 2 teaspoons kosher salt, 1 teaspoon fresh cracked black pepper
- Reduce the heat to medium and continue cooking the onions, stirring occasionally. As they begin to break down and deepen in color, you’ll want to stir more frequently to keep them from sticking or burning. Don’t rush the process—true caramelization takes time, usually between 45 minutes and just over an hour.
- As the onions darken and the fond (the browned bits) builds up on the bottom of the pan, splash in a tablespoon or two of water to loosen it and keep things from burning. Use a wooden spoon to scrape it all up—this adds tons of flavor. Keep deglazing as needed until the onions are soft, jammy, and a deep golden brown.1 cup water, as needed
- Once they’re done, remove from the heat, let cool, and store in an airtight container in the fridge. They’ll keep for up to two weeks—or longer in the freezer—ready to bring rich flavor to whatever you’re cooking.